Remove Installation Files from Vista's Windows Update
They are satisfied, all right. But do they know that there is a way for users to remove the SP1 installation file from the hard drive?
In truth, the reason why the SP1 installation file remains on your hard drive disk after installation is because Microsoft gave users the option to uninstall SP1 in case users are not happy with the service pack. Removing the installation files has its pros and cons; by removing the file, you can reclaim disk space of up to hundreds of megabytes, but then you will never be able to uninstall SP1 ever again.
How to remove SP1 installation file from your Vista SP1 machine:
1. On your desktop, click the start button and select "Run"
2. On the Run window, type in cmd (command prompt)
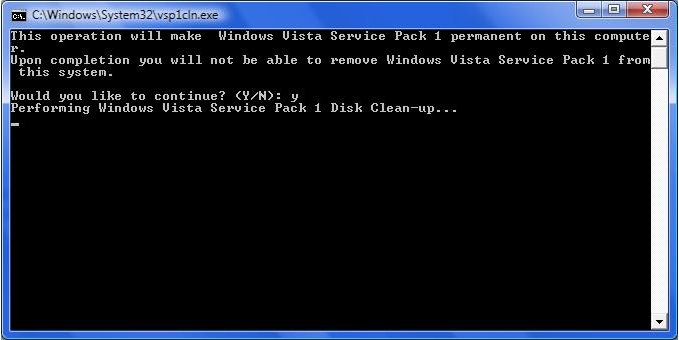
3. In the command prompt window, type "vsp1cln.exe" (stands for "Vista SP1 Cleaner")
5. Command Prompt will then find the location of the SP1 installation file and execute its uninstaller. When the command prompt asked if you would like to continue, just proceed by typing the letter "y" (simply means yes!)

6. Vista Service Pack 1 cleaner will clean up all installation files on your hard drive and make your SP1 installation settings permanent. You will be informed when the cleanup has complete. No restarts are required!
Now you can have lots of free spaces to do whatever you want! Be it for downloading movies, musics etc. Another best thing about this cleanup is that users don't have to connect to the internet to execute it!

0 opinion:
Post a Comment